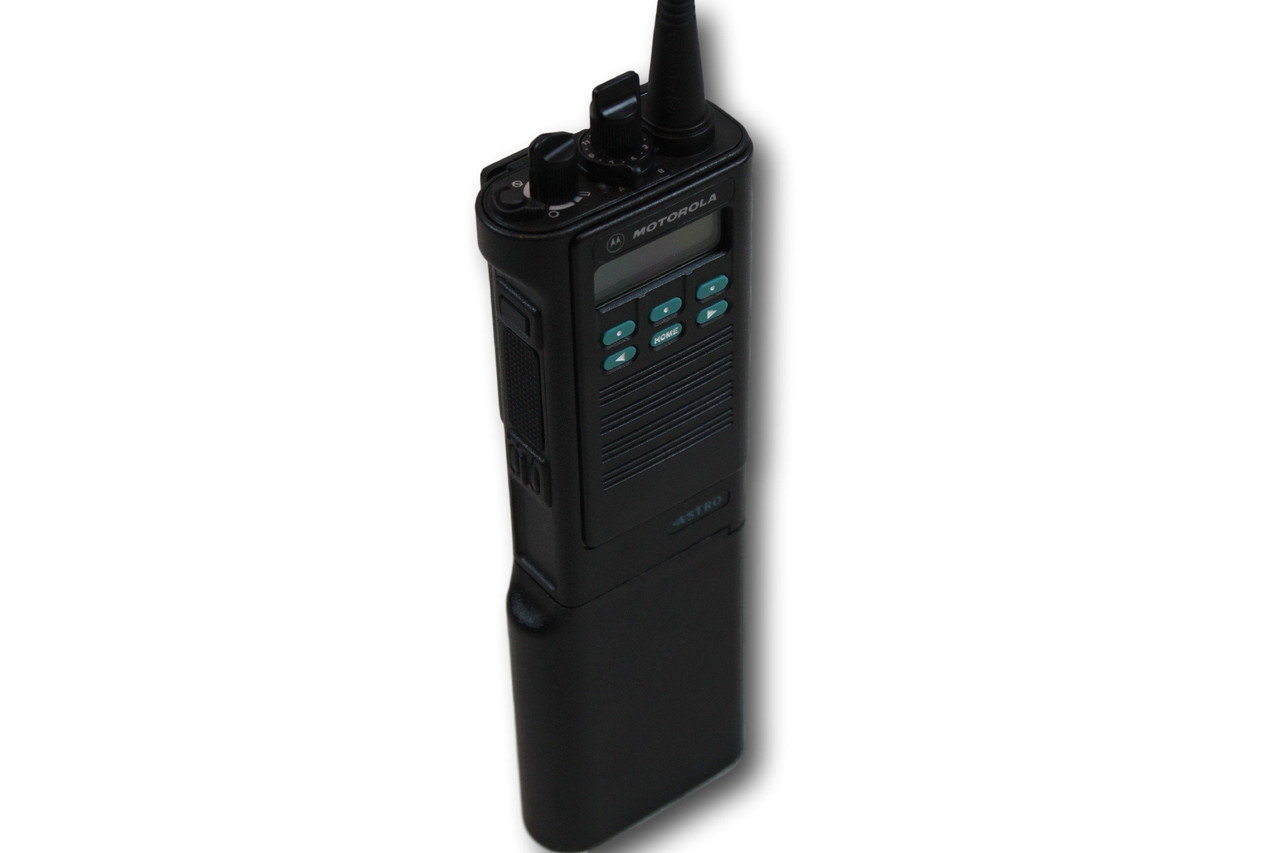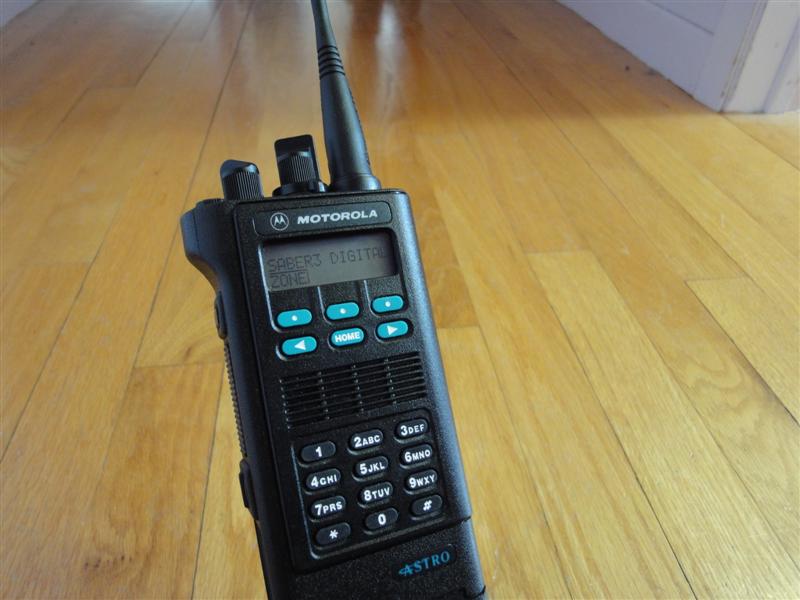
*Sub-Bandsplits cannot be determined by model number. 6880309E44 - Astro Saber/Saber Si Service Cable Manual.6881045C75 - SecureNet UHF Band Service Manual.6881045C70 - SecureNet VHF Band Service Manual.6881065C65 - Saber II/III Instruction Manual.6881065C60 - Saber I Instruction Manual.6881044C05 - Theory/Maintenance Manual.Here are a listing of the Service Manual part numbers for this series of radios: Actually, it even mentions it in the programming manual. Trying to figure out which frequency split you helical antenna is for? Look at the paint on the connector:īy the way, if you look at your Saber III when you are programming it, and see an ERR 01 D in the display. Receiver performance should be just fine, and in most cases, you'll get the full six watts over the entire band, not that most people need to be transmitting in the 160-174 MHz range.Īnother tip, if you like having the little "beep" at the start of your transmission like the secure radios do, program your radio as secure capable, even if it isn't. Program a high power VHF Saber (H43 series) as a low power (H33 series) radio and you instantly get the wide 146-174 MHz bandsplit, and the radio is still a six watt radio. If you have an old MX rapid charger, you can get an adapter, part number NTN5564B, to convert the pocket so it will charge your Saber batteries. Of the three terminals inline, the center is 7.5V+ the one nearest the negative terminal is S+, the opposite is S- (sense pins). The offset terminal (near the rear edge) is the NEGATIVE terminal. There are 4 terminals on the top of the battery, and on the bottom of some Sabers there are 4 matching terminals. For example, a CON-4 has only MDC Signaling, CON-5 & 6 has MDC, QCII, Single Tone. Select a model like H44TUK5170CN and select a CON (2-6), create a default Public Code Plug with F2 - Go back and review the options. Regarding the System Saber's firmware options, here's an easy way to get the specs of various version of CON (Internal Code Plug).įrom main RSS menu (Version 03.00.2) go F4 and F2 to select model #. It is also necessary when the switch is flipped back to normal mode that the radio has to be removed and re-inserted for the converta-com to reset and communicate with the radio. The Converta-Com does act a bit flakey with the data lines interrupted.


Switch with the necessary number of poles, and add a connector for the RIB. It is possible to go into the Converta-Com and cut the lines that go to the proper pins on the radio, insert a


 0 kommentar(er)
